

The Planck keyboard
Somehow, a while ago I became interested in small and unusual keyboards. Usually they came as PCB kits which required each key switch to be individually soldered, however, and it seemed tedious to me to have to solder (number of keys) * 2 points on the PCB for the switches (not to mention diodes as well), especially if de-soldering was required later.
Some time after that, however, pre-soldered “hot-swappable” keyboard PCB kits, which come assembled in a form that allows switches to be directly plugged in without the need for any additional soldering, became more prevalent, and the kits for some of the keyboards I had previously been interested in were updated to contain such PCBs. Therefore, I recently bought a fairly well-known “40%” keyboard, the OLKB Planck, from Drop (Massdrop).
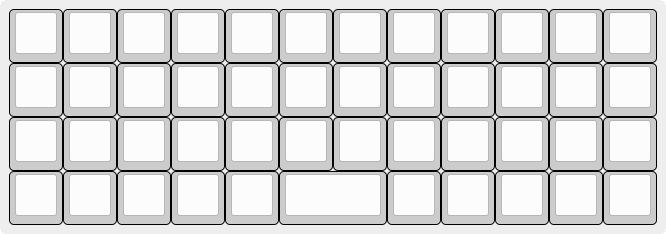
As mentioned, the Planck is a 40% sized keyboard, which means it doesn’t have a number row (or anything beyond that, e.g. function keys, arrow key cluster, numpad, etc.). In addition, it is ortholinear, which means that the keys on each column are all completely lined up, as opposed to the traditional staggered layout. In theory the ortholinear layout is more natural, as we don’t actually need to move our hands from side to side when going between rows. The staggered layout became only prevalent back in the typewriter days because keys were connected by levers to the printing mechanism and so the stagger was necessary to avoid the lever bars interfering with each other.
The keyboard comes as a kit, however due to the aforementioned hot-swappable sockets, no soldering is necessary. For the moment I used Cherry MX brown switches, though it seems like Cherry are considered by some to have fallen from their former heights as other switch manufacturers continue to make improvements to their own switch designs. Fortunately, due to the hot-swap design it will be fairly easy for me to replace the switches in the future if I do decide to try new ones out.
To match the Cherry switches, I acquired blank DSA profile keycaps. DSA keycaps have no variation in shape between rows, unlike the typical OEM profile, however they still have slightly differently shaped homing keys (F and J in QWERTY) to help orient your index fingers when typing. Personally, I think lower profile keycaps like DSA look better with the mid-profile case that I bought for my Planck. I also usually prefer blank keycaps, as I use the Colemak layout and so QWERTY labels are not useful in any case. In addition, as we will see, a small keyboard like this requires extensive function layers, which a typical keycap set would not capture either.
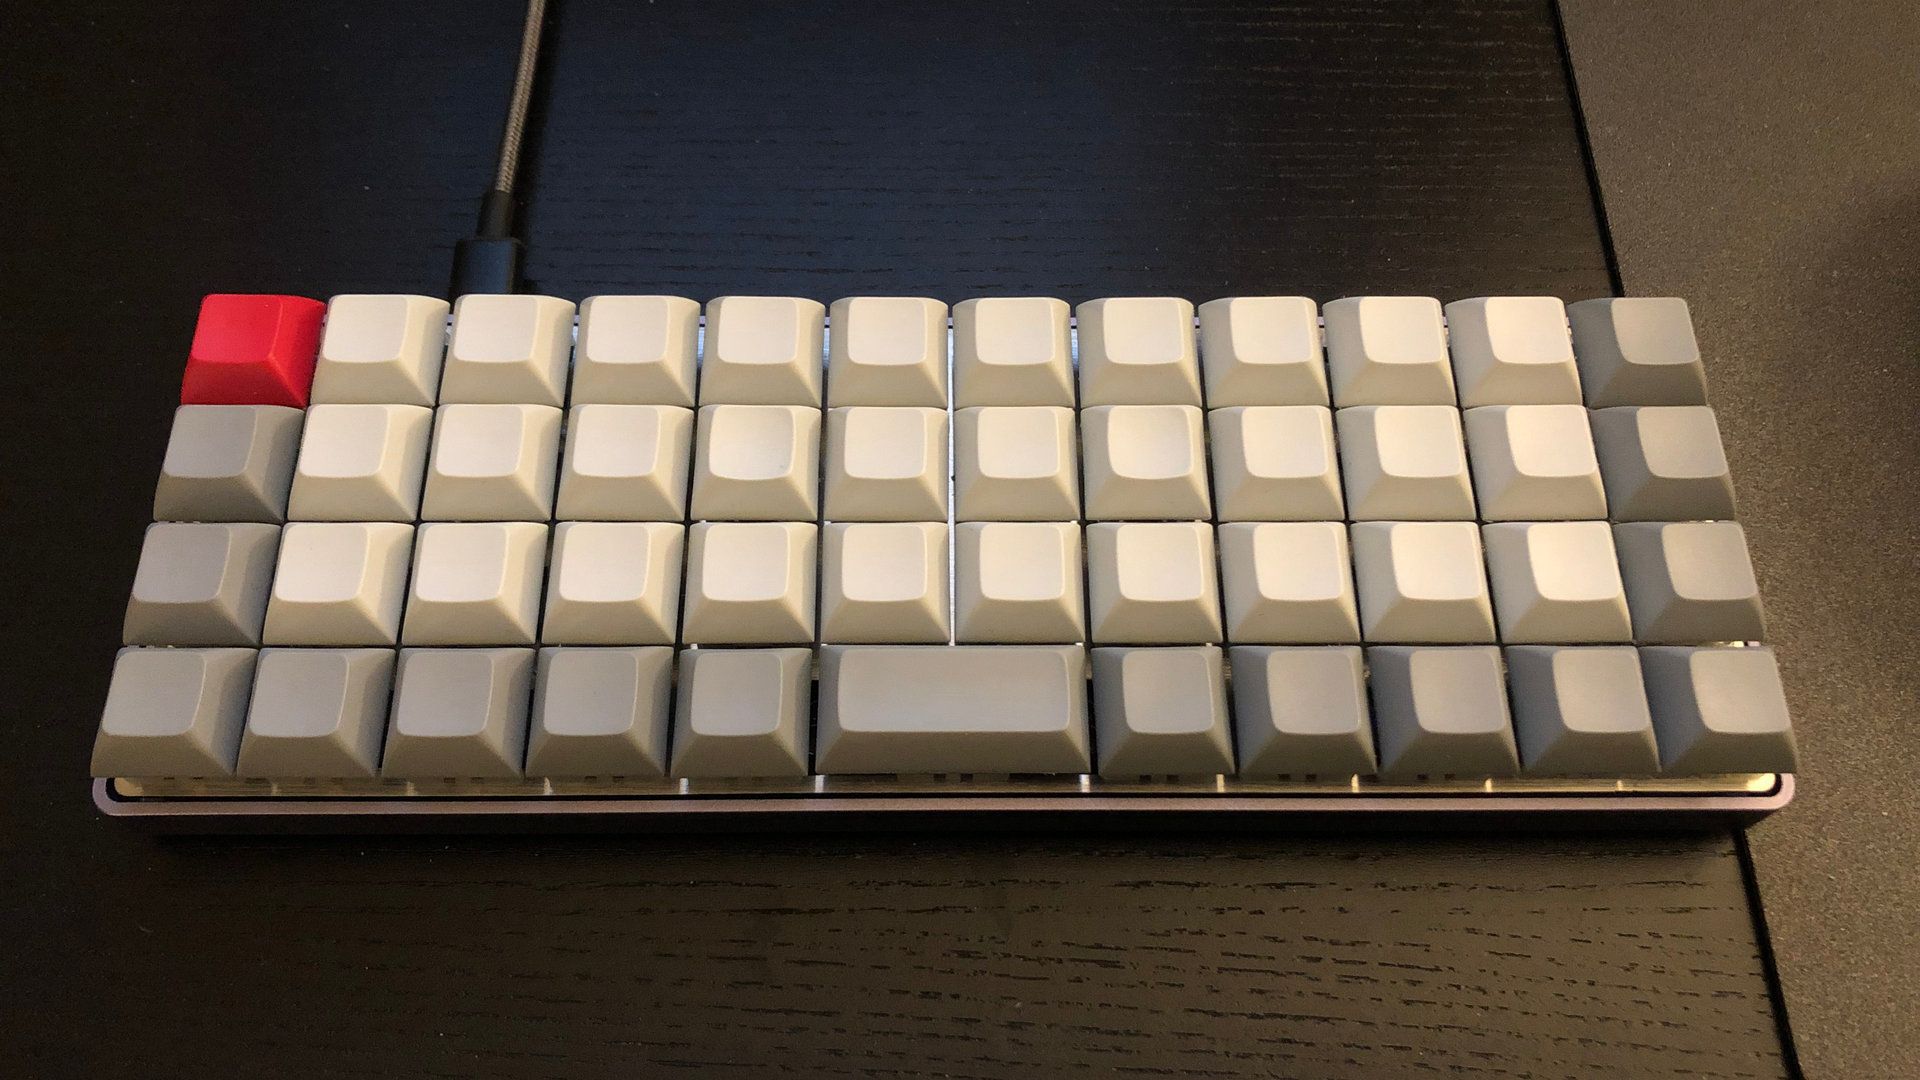
After some struggling with the stabilizer under the space bar, which still makes a rather unfortunate pinging sound when pressed (I think I need some case foam), I managed to assemble the keyboard, as seen above. After ensuring all the switches worked, I then had to design my layout. Although the Planck does come with a default layout, I found some aspects of it unsatisfactory (for example, I prefer having a right shift key) and so decided to design my own.
The general idea for these smaller keyboards is to use the two keys to either side of the space bar (generally known as “lower” and “raise”) to momentarily change the layout’s “layer” when held down, allowing further keys such as numbers to be accessed. Since the spacebar is smaller than usual, your thumbs will naturally rest on the lower and raise keys, making it natural to hold them down, although in exchange it’s somewhat less natural to press space.
There is a variant way of assembling the keyboard with two two-unit (2U) wide spacebars. In this variant the spacebars are usually configured to output space when tapped, but shift layers when held. I decided not to go with this approach, however I may try it out in the future—since the switches are hot-swappable no de-soldering would be required. There is also a variant with two individual keys instead of the single 2U spacebar, however I think there are enough other keys to not need that. It might make the keyboard sound nicer though…

In any case, I eventually decided upon the above layout (visualized with keymap_renderer). As mentioned, the “lower” and “raise” layers are accessed by holding down the keys beside the space bar, and holding both at once accesses the “adjust” layer. The numbers here are on the home row when pressing “lower”, while other symbols are on the top row, roughly arranged by their physical layout on a regular ANSI keyboard but with some movements for convenience—I found that I used hyphen and quote much more than the other symbols. Their shifted variants are accessed using “raise” instead.
Ever since I assembled it, the Planck has been my daily keyboard, which I use for everything, including programming and playing games (see below). It’s definitely taken me a while to get used to the layout—both the ortholinear aspect as well as the unusual location of non-alphabetic keys, and being able to apply my own preferences when designing the keymap has definitely helped. It seems, however, like I soon probably won’t be able to use standard keyboards efficiently any more…
The “adjust” layer of the layout generally contains meta-keys for accessing various keyboard functionality, however it can also be used to switch to alternative base layouts. The “QWERTY” key just converts the alphabet keys to that layout (with “COLEMAK” used to return), however the “GAME” key switches the entire layout to something more suitable for many video games.

In this layout typing convenience has been completely sacrificed (even “P” had to go on the second layer) in exchange for placing the number keys, which are often used in games, on the base layer and close to the “WASD” keys (also frequently used). The modifiers have also been shifted around so they can be more easily held for extended periods of time, and the arrow cluster is in the traditional shape. This seems to work well enough for most games I’ve tried so far, however I haven’t experimented with some more hotkey-heavy games like MMOs.
The main interesting aspect of configuring the Planck, and many other “custom” or enthusiast keyboards these days, is that it runs QMK, which is an open-source keyboard firmware supporting a number of different microcontrollers. Typically with QMK, layout modifications are made to the firmware itself, and the updated version is then flashed to the keyboard. This allows a very high level of flexibility as arbitrary logic can be added to the keyboard and linked to actions such as pressing a switch. Of course, complexity is limited to the specifications of the microcontroller on the board (the Planck I bought has an ATmega32U4).
In QMK, your desired layout is encoded in a C file, which is then incorporated into the firmware binary. My layout, as described above, can be found on GitHub, and I will probably continue making adjustments to it as I continue using the keyboard. The main QMK repository also contains many other people’s layouts which can be used directly or as inspiration, as the developers encourage pull requests for different keymaps.
QMK also supports VIA, which reads the keyboard layout from the microcontroller’s EEPROM instead. This means that the layout can be easily updated via the VIA configuration utility without needing to flash the firmware. Since most microcontrollers have a very small amount of EEPROM (the ATmega32U4 has only 1kB), however, the possible complexity of layouts configured using VIA is limited (e.g., it can only have four layers by default). In addition, more complex functionality is not supported (such as advanced chording or audio), as those need to be incorporated via routines compiled into the firmware.
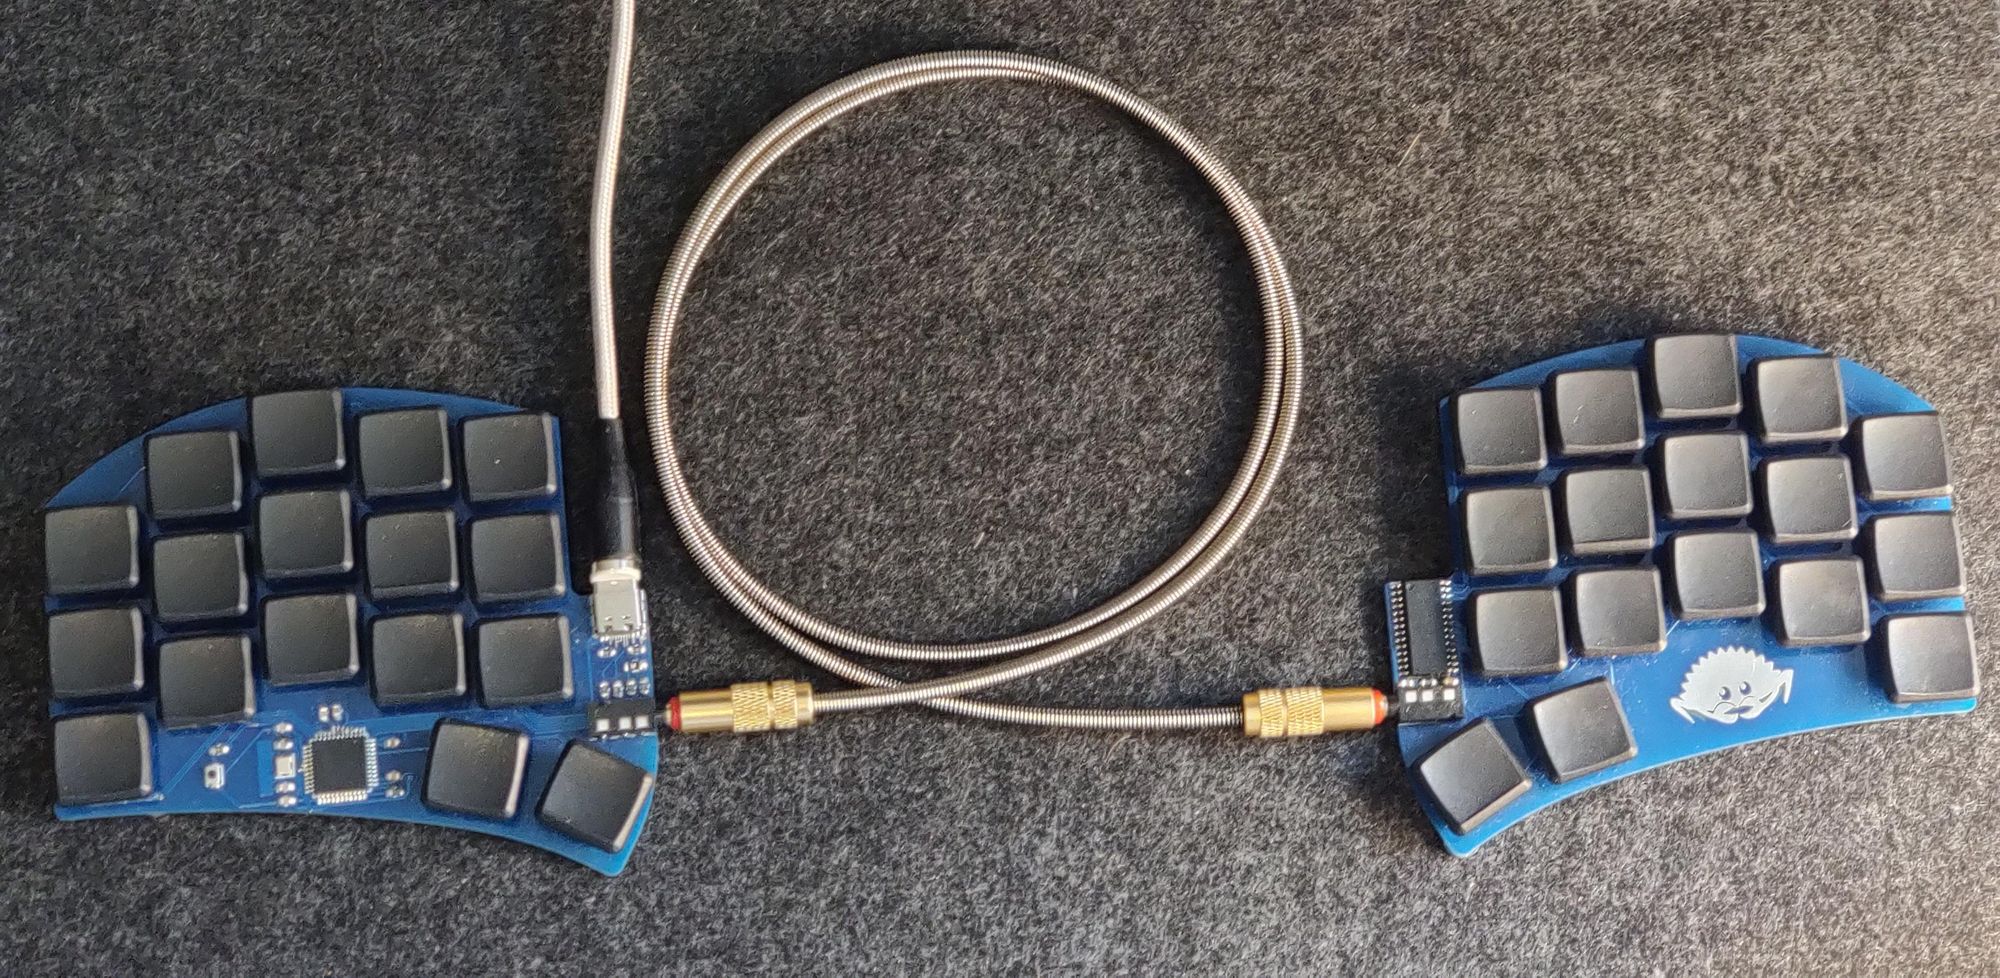
After buying the Planck, I became aware of even more compact boards, especially in “ergonomic” configurations which aim to place keys in the most natural position for human fingers and minimize overall finger movement. Many of them are also split, so that the hands can be placed further apart when typing. There are even split keyboards which are otherwise identical in layout to the Planck, such as the Let’s Split. The smallest keyboards I’ve found that still seem somewhat practical have 34 or 36 keys, such as the Ferris keyboard.
In these layouts, most modifiers are missing dedicated keys, and a common approach is to instead encode tap–hold behavior for the home row keys, such that e.g. “F” (in QWERTY) would produce that letter when tapped, but become “shift” when held down. If this approach is mirrored on both sides, all shifted keys will be accessible, and a similar approach can be used for control, alt, and so on. The thumb keys can be used for space and lower/raise in a similar approach to the Planck layout.
This would be an even more radical departure from the standard layout than even my current keyboard, however proponents state that this type of layout is much more ergonomic, since no stretching or use of the little finger is needed to reach the modifier keys. As a bonus, even though these keyboards usually require soldering, since they have so few keys to begin with, doing so is much less onerous than for a full keyboard! In addition, some boards like the Sweep variant of the Ferris don’t even need diodes to form the grid matrix, as every switch can be directly connected to the microcontroller’s pins. Maybe a future project for me…